9. Multisig

Multisig is a great way to secure your account from theft and loss, by requiring multiple signatures to approve any transaction.
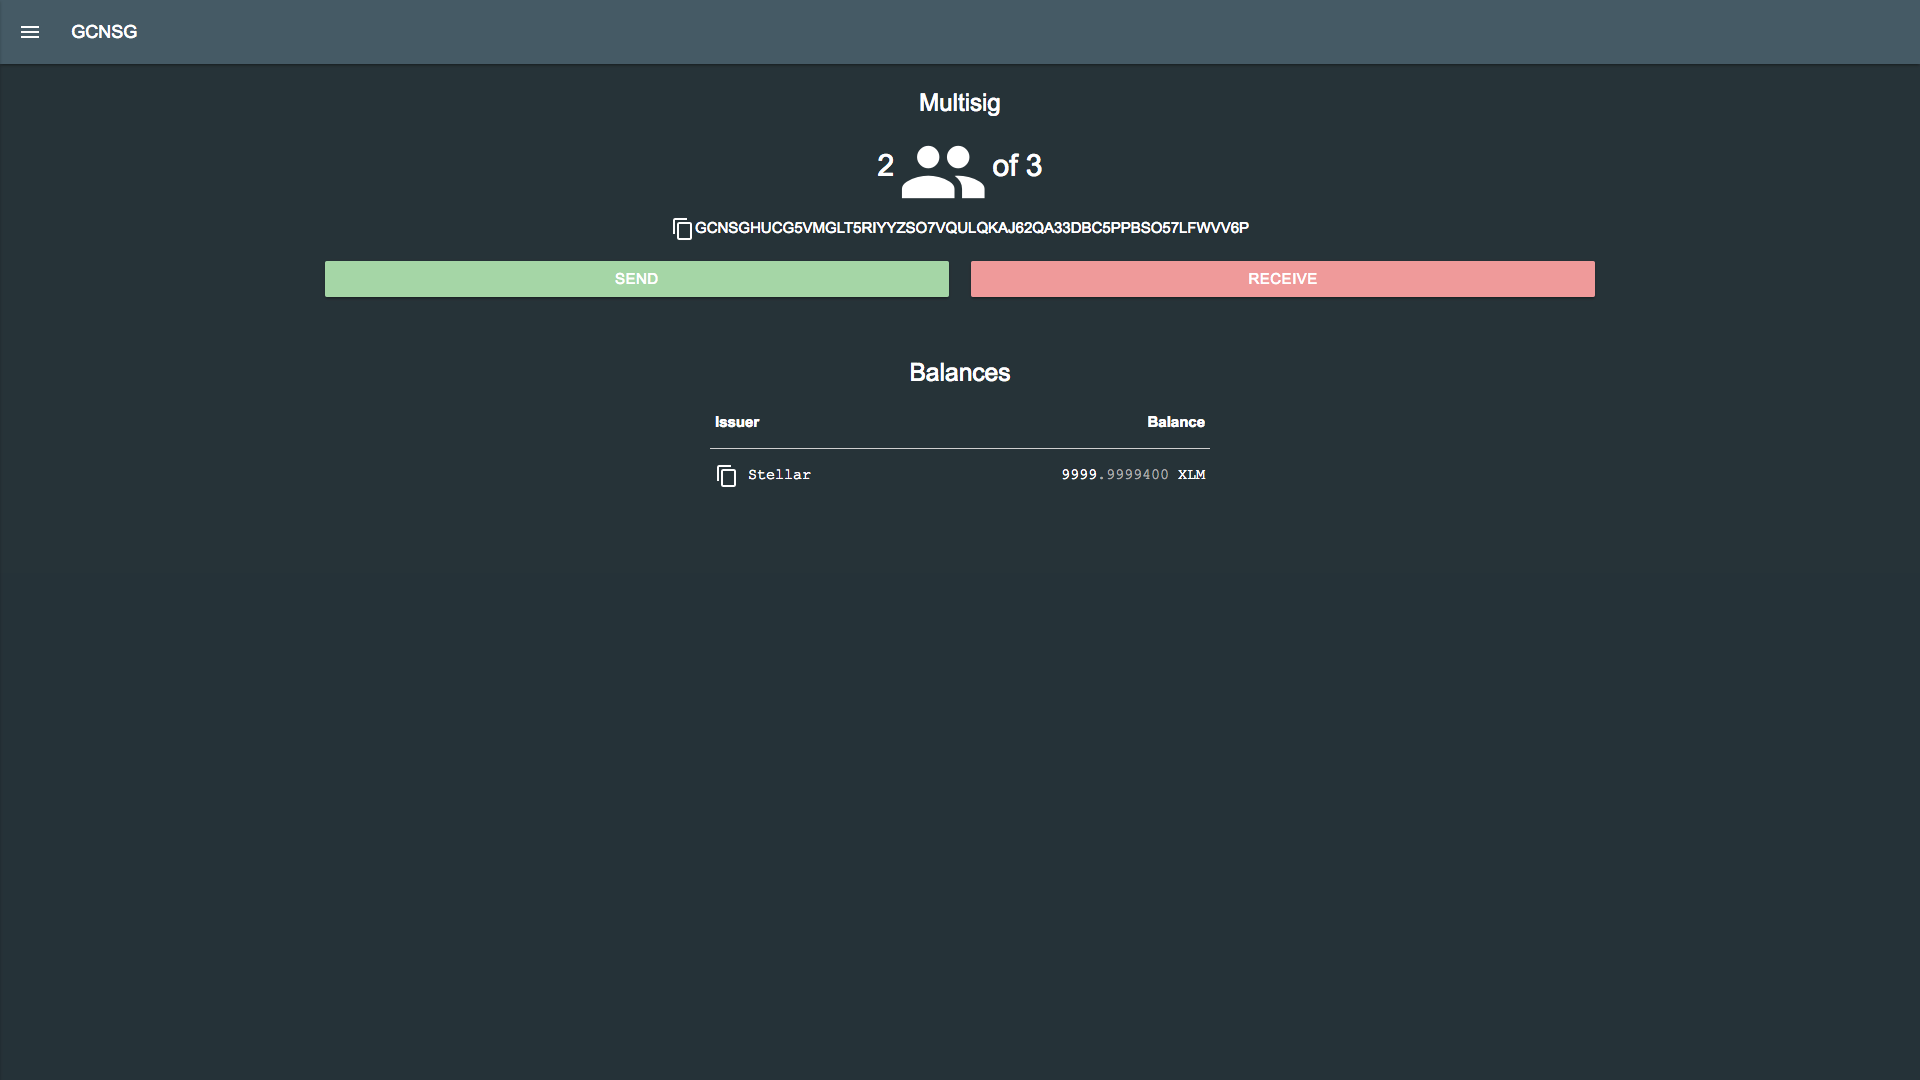
Multisig accounts on Interstellar follow the M of N pattern:
- M represents the minimum number of signers required to validate a transaction.
- N represents the total number of signers available to validate a transaction.
E.g a 2 of 3 multisig account means you have 3 available signers, but only two are required to validate a transaction. A multisig account doesn't need permission to accept funds :).
9.1 Best Practices
By default, Interstellar accounts don't have multisig. This might be dangerous for companies or holders of large funds. If your private key gets lost or stolen, you lose all funds.
1 of 2 multisig accounts are not generally recommended. They will reduce the risk of loss, but will unfortunately increase the risk of theft. If one of the signers has his/her key stolen, the attacker can gain control of the account.
2 of 2 multisig accounts are not generally recommended. They will reduce the risk of theft, but will unfortunately also increase the risk of loss. If one of the signers loses his/her key, the account will be locked forever.
2 of 3 multisig accounts are recommended. They will reduce the risk of theft and also reduce the risk of loss. If one of the signers loses his/her key, the other two signers can continue signing and even replace the lost key with a new key.
In general, we recommend (N/2 + 1 ):N multisig accounts. That is, just a little bit above half of the available signers should be required.
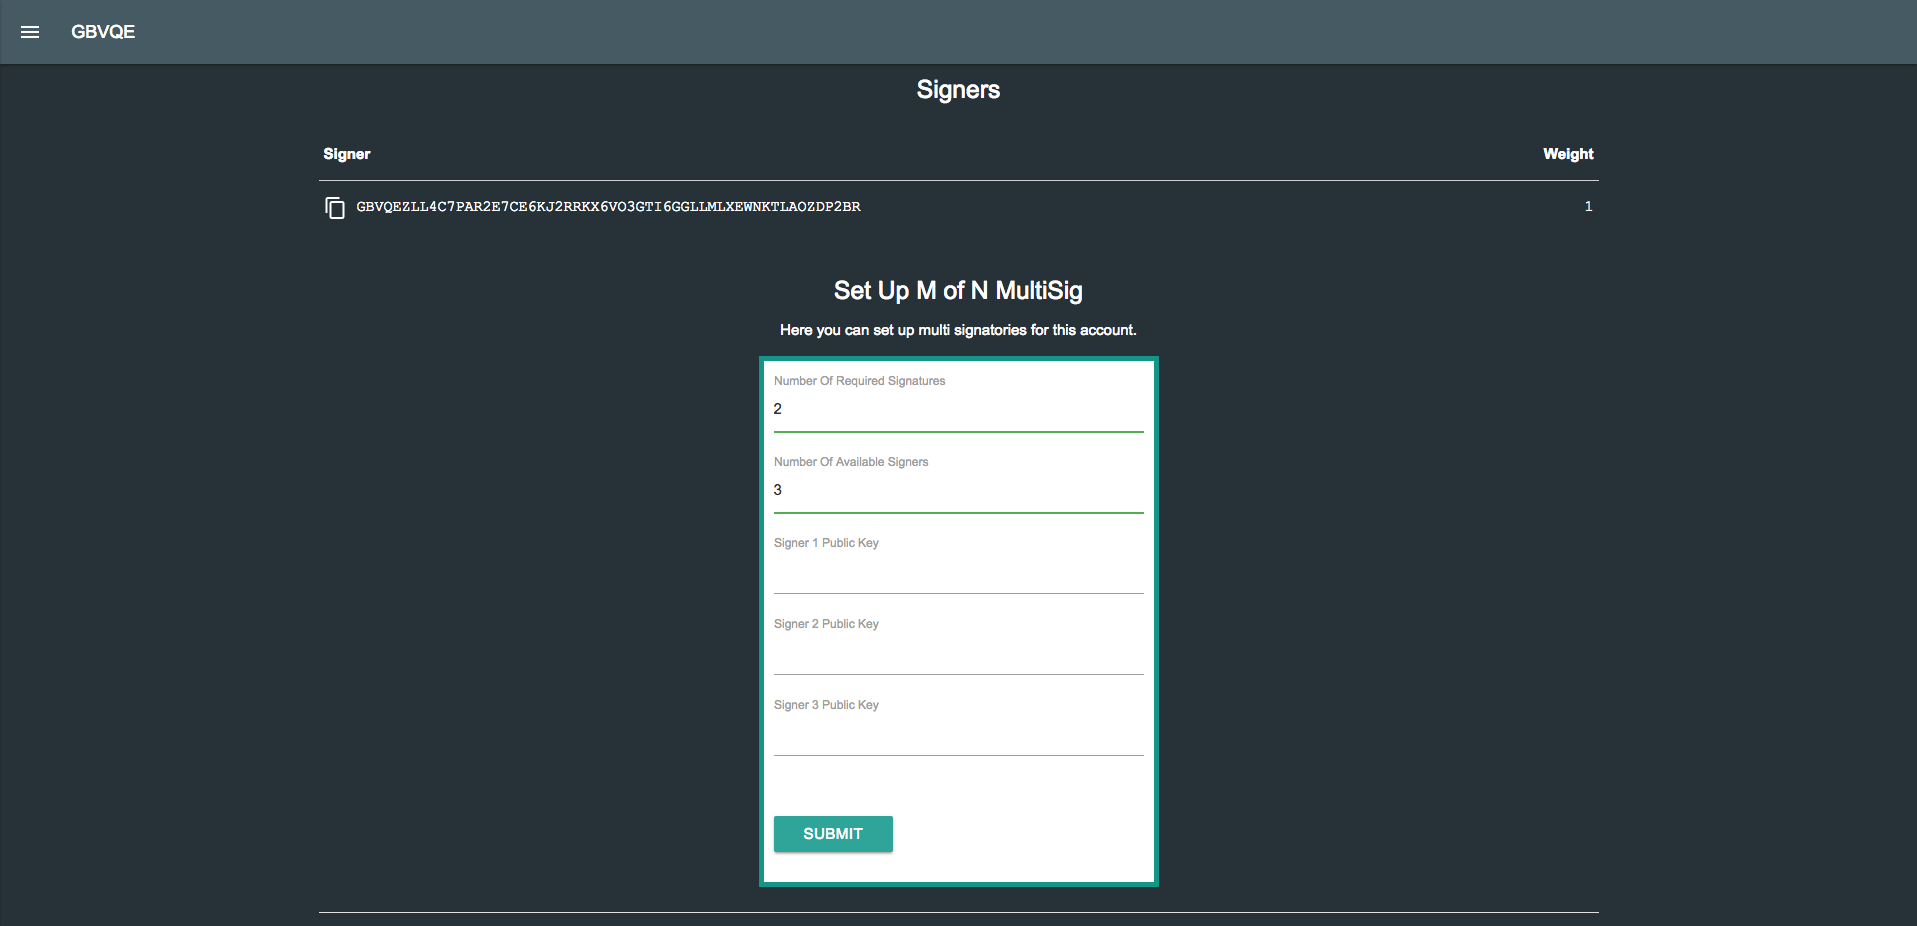
9.2 Setup Multisig Accounts

To set up a multisig account:
- Click on the hamburger menu on the top left.
- Select Multisig
- Select the account you want to transform to multisig.
- Input the number of required signatures.
- Input the number of available signature.
- Input the public keys of the signers.
- And you're done.
9.3 Multisig Transactions

Transactions on a multisig account are done the same you'd perform any normal operation.
For example, to send funds from a multisig account to any another account, simply go to the send form and input the destination's address.
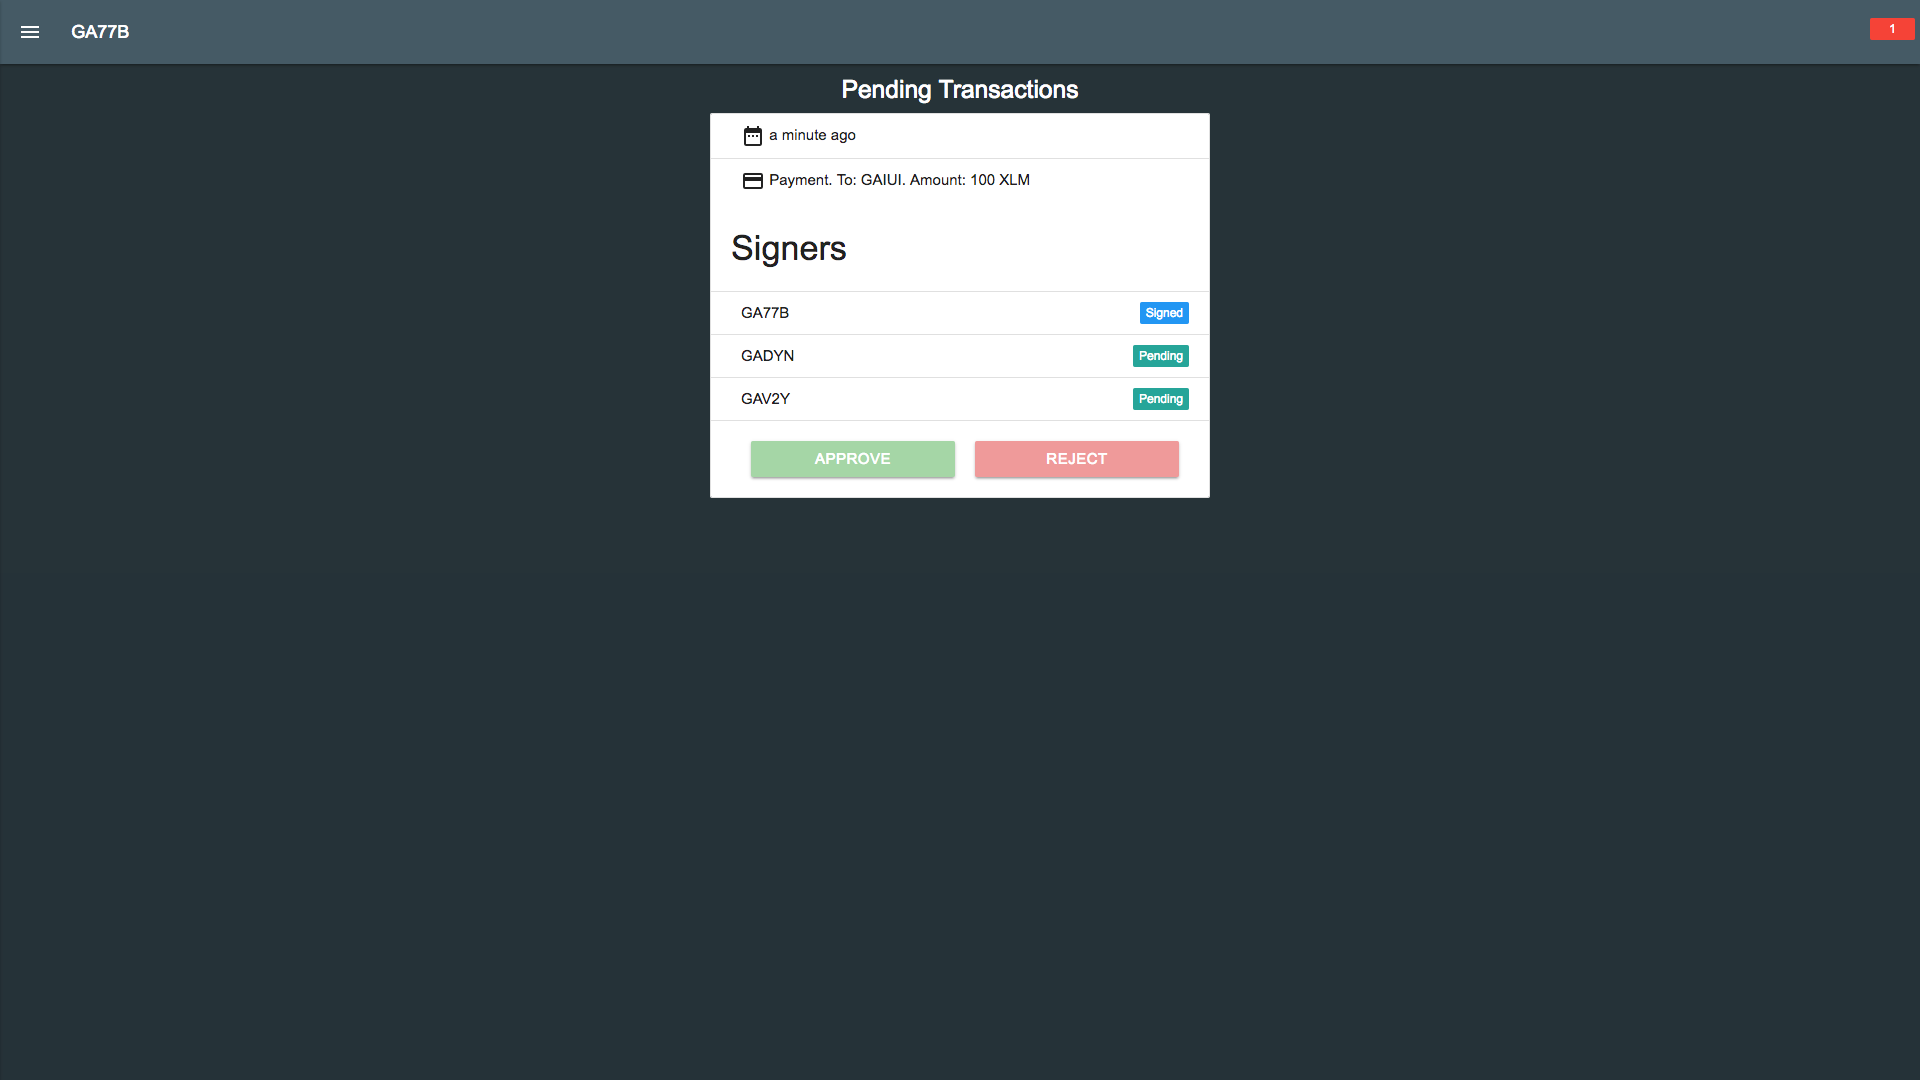
The difference however, is that your transactions don't confirm immediately. Instead, each of the available signers are notified that they have pending transactions to sign.
Multisig notifications appear in red on the top right corner of the screen. When you click on a multisig notification, you will see the list of pending requests available for you to sign.The signers are then given a choice to either accept or reject the transaction.
Suppose you had a 2 of 3 multisig account. If 1 signer rejected the transaction, and 2 users accepted the transaction, the transaction will still be validated.